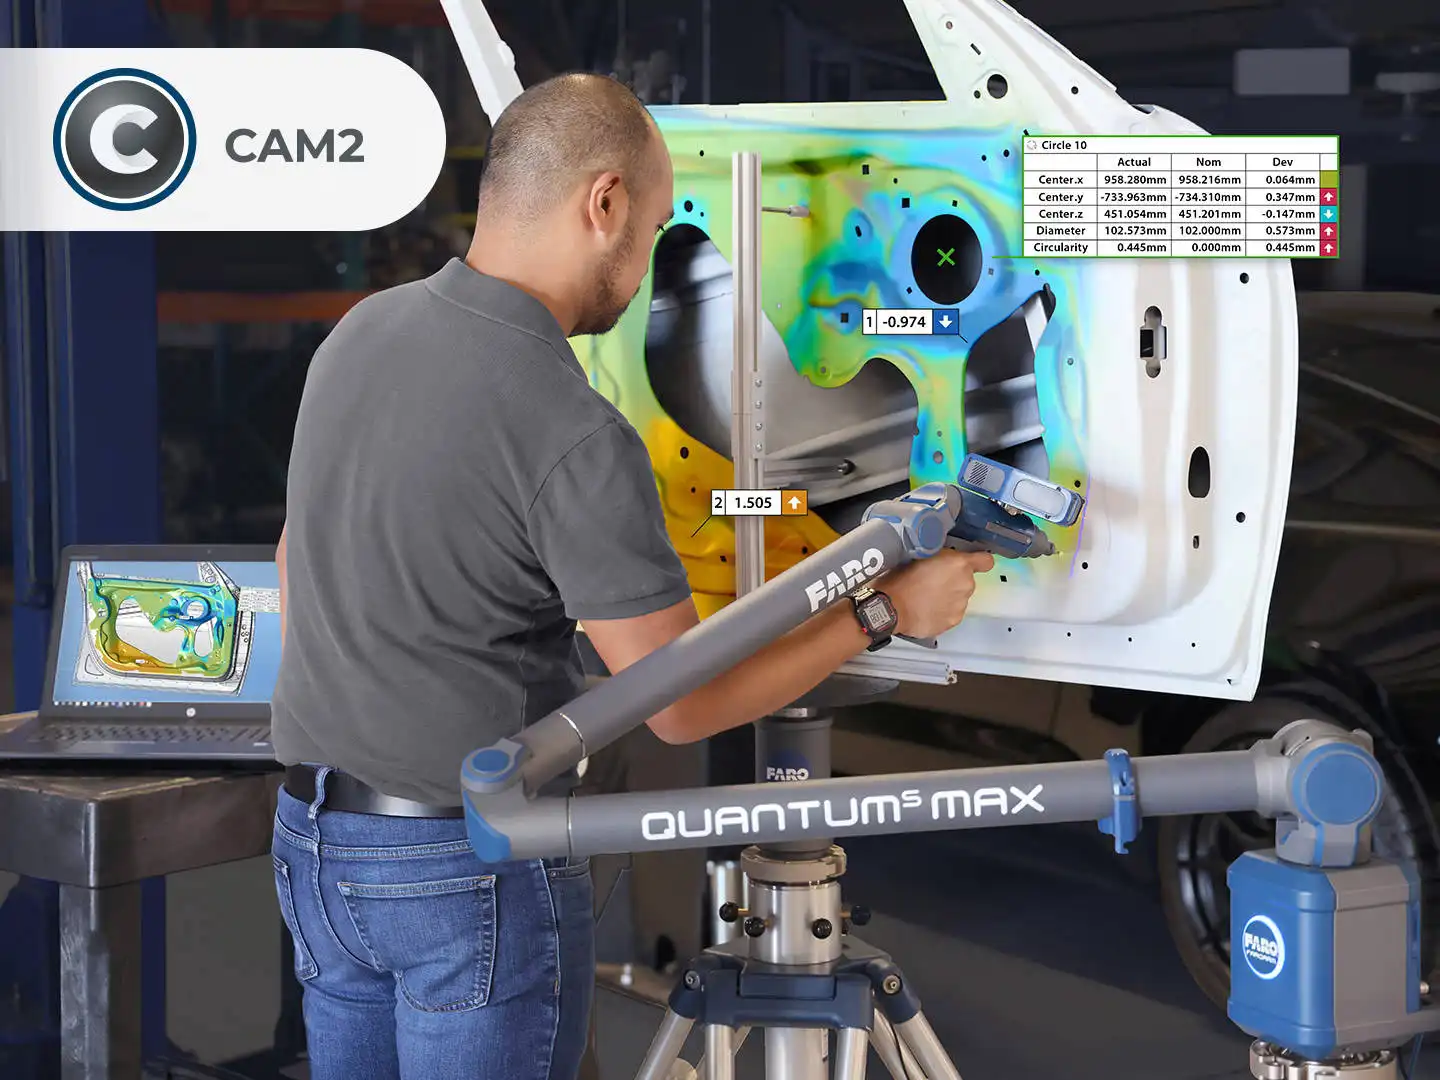
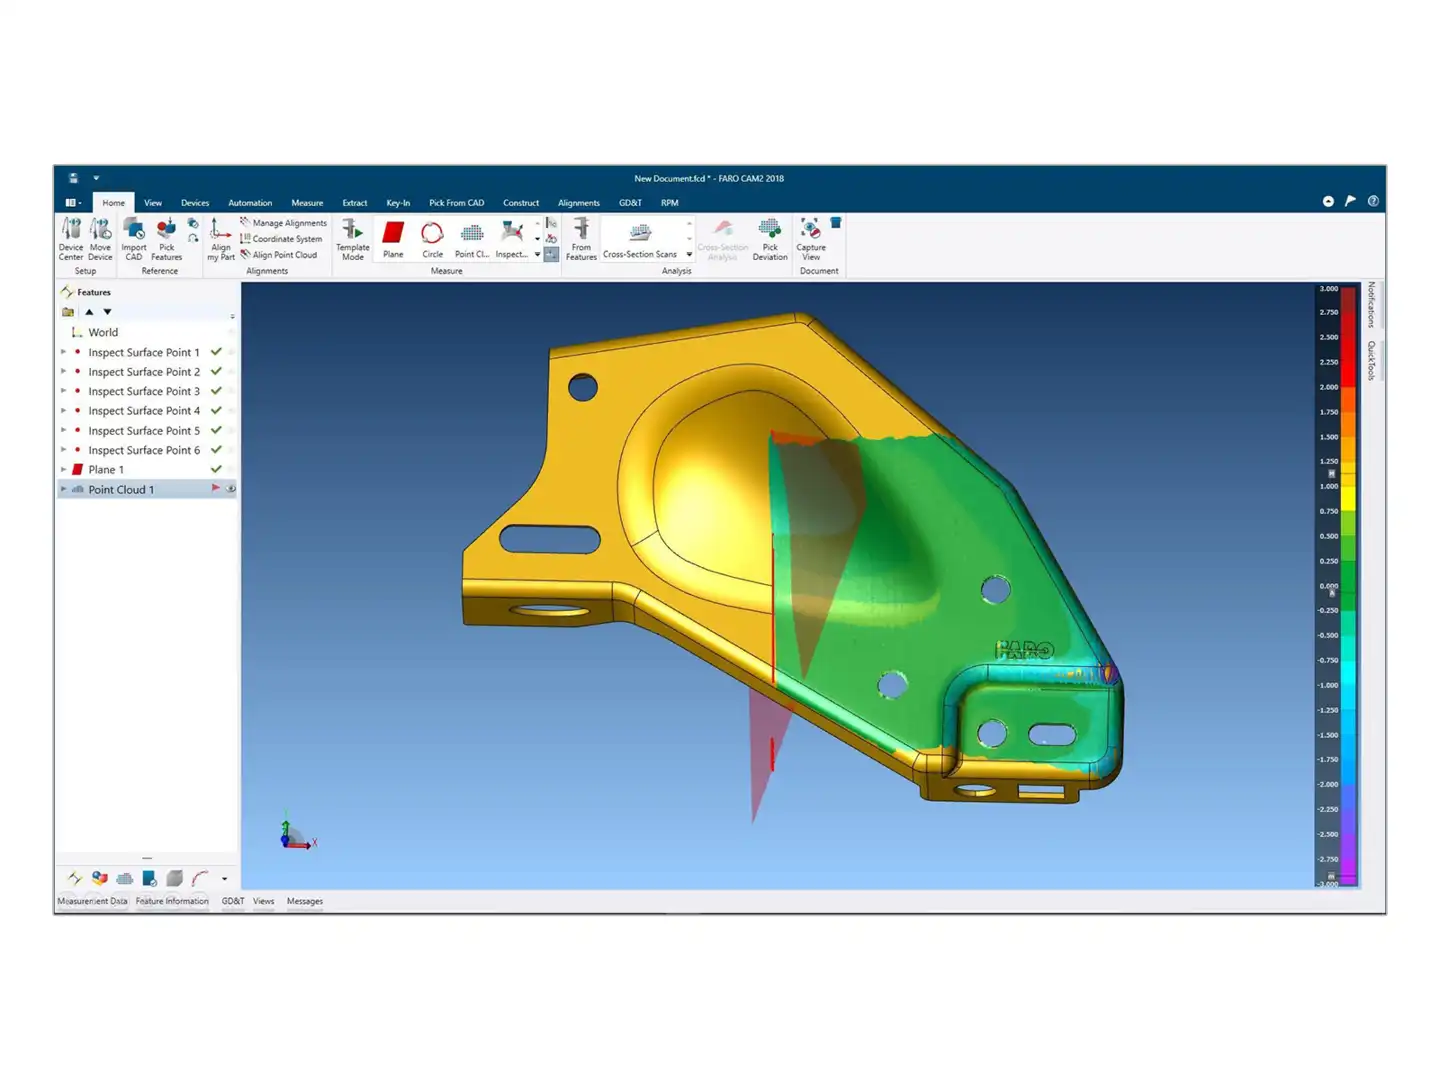
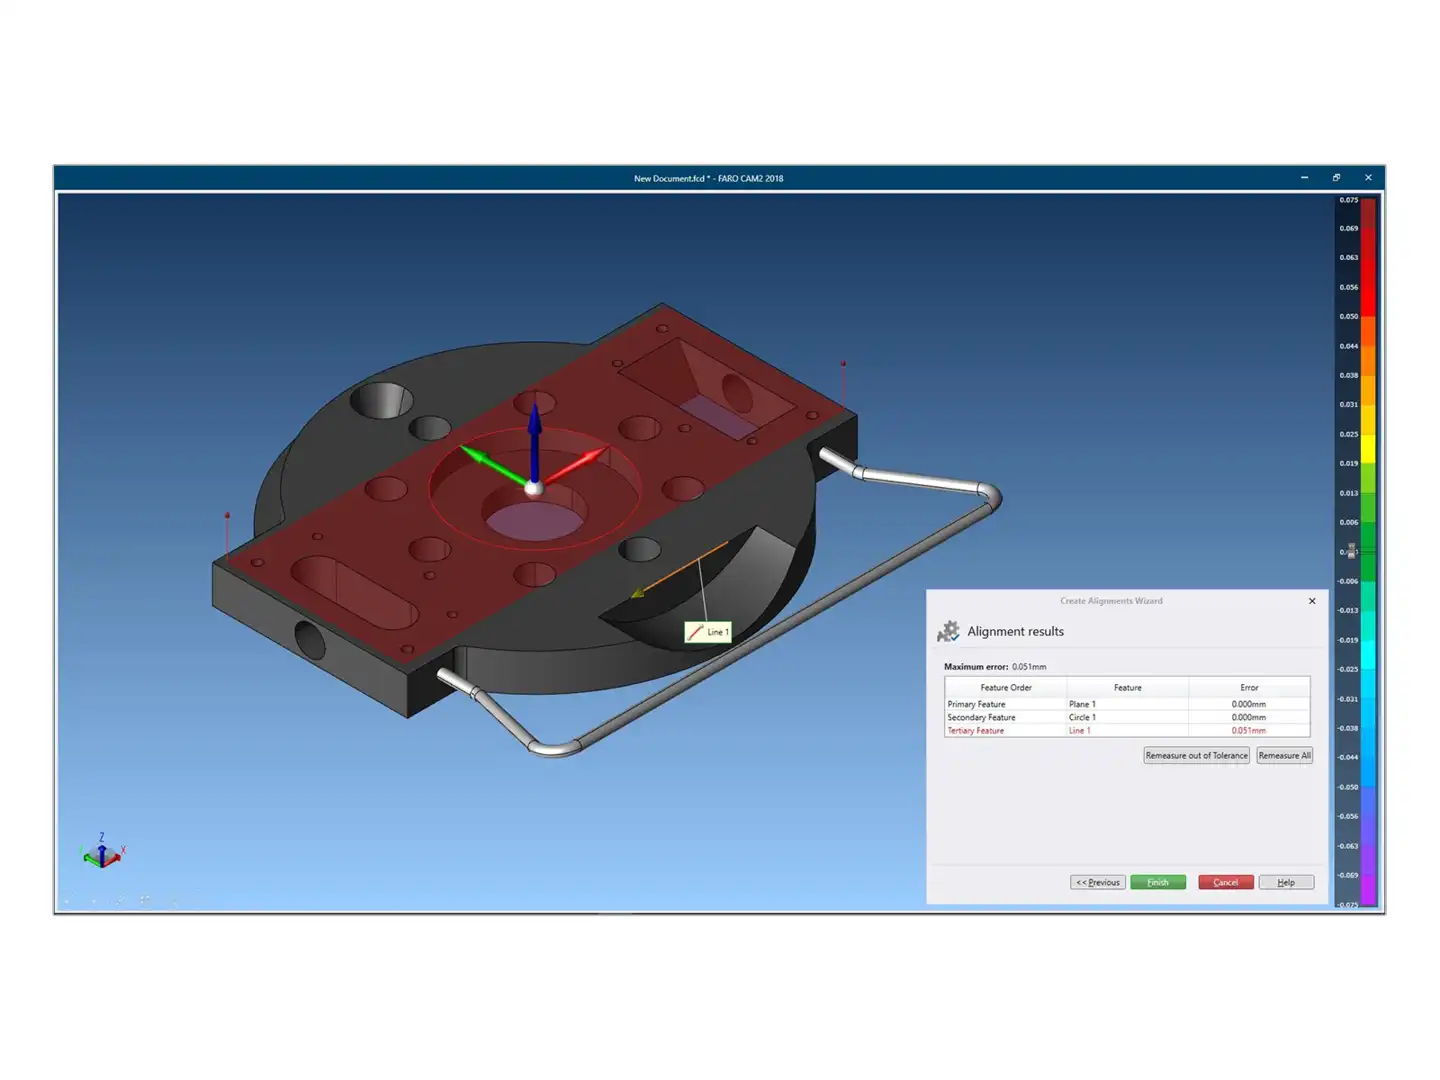
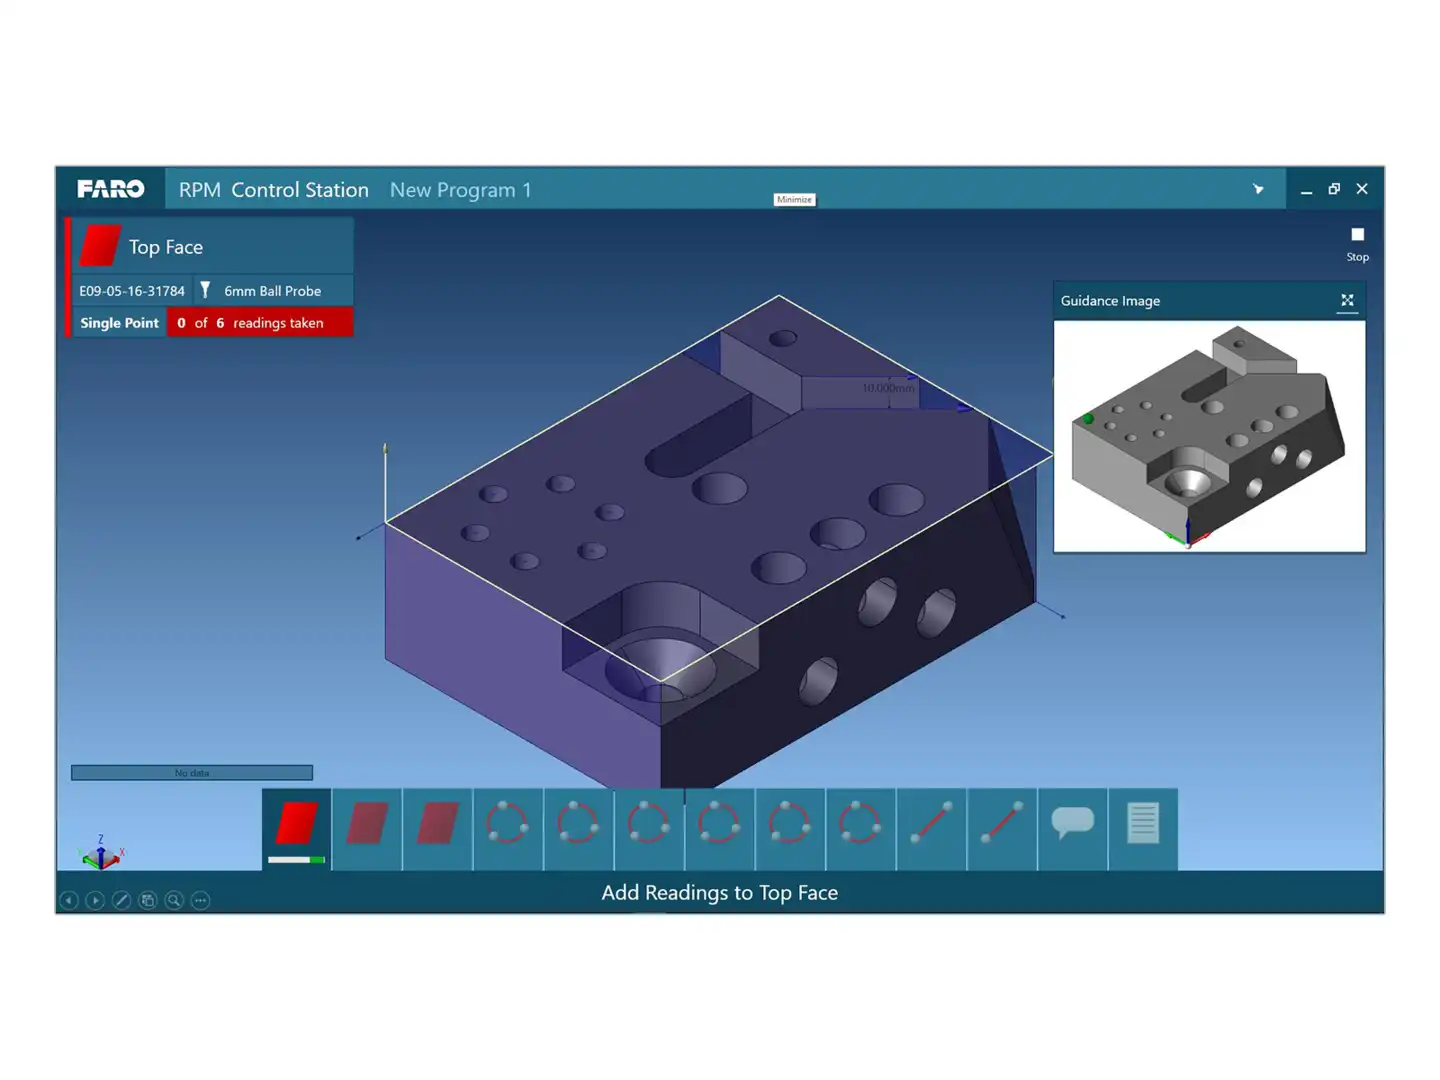
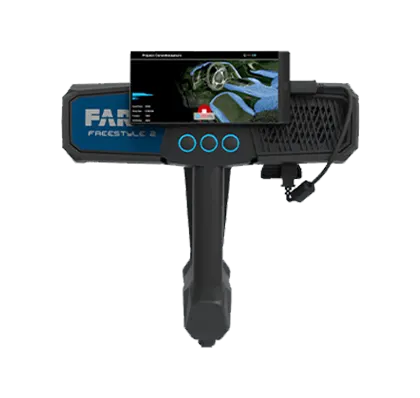
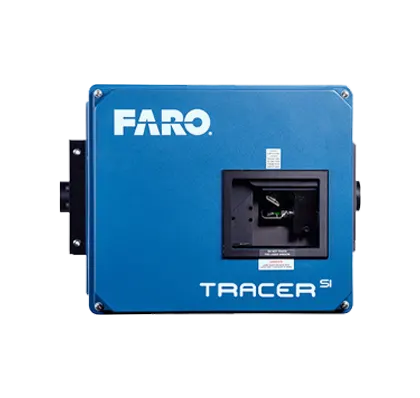
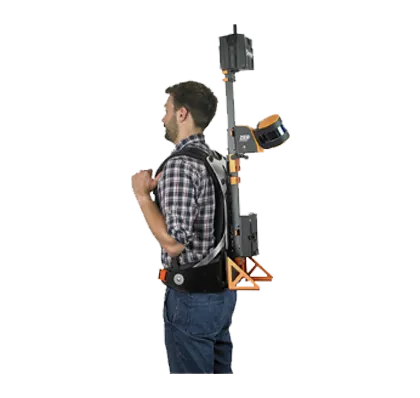
FARO CAM2® Software is a powerful, intuitive and application-focused 3D measurement platform designed to help you efficiently complete your quality assurance and inspection tasks. It’s perfectly suited to manage repeat inspection routines, with live trend and statistical process control (SPC) analysis. CAM2 Software is designed for use with any FARO coordinate measuring machine (CMM), enabling operators to capture accurate measurements. It’s the world’s smartest 3D measurement platform.
- Overview
Improve Quality
Complex 3D inspections and automatic reports help users pinpoint defects.
Enhance Yield
Faster troubleshooting and root-cause analysis help increase overall yield.
Increase Throughput
Higher production rates and reduced downtime for verification mean greater throughput.
Accelerate Revenue Generation
You’ll bring products to market faster and reduce rework and downtime.
Keep Customers and End Users Happy
Delivering higher-quality products that can be used with confidence makes everyone happy and keeps customers loyal.
Make Informed Decisions
With the information at your team’s fingertips, they’ll be equipped to make smarter decisions faster and stay ahead of any problems.
Ensure Consistent Results
Pre-programmed inspection routines built through Repeat Part Management ensure consistent results from one operator to the next.
Easily See Trends
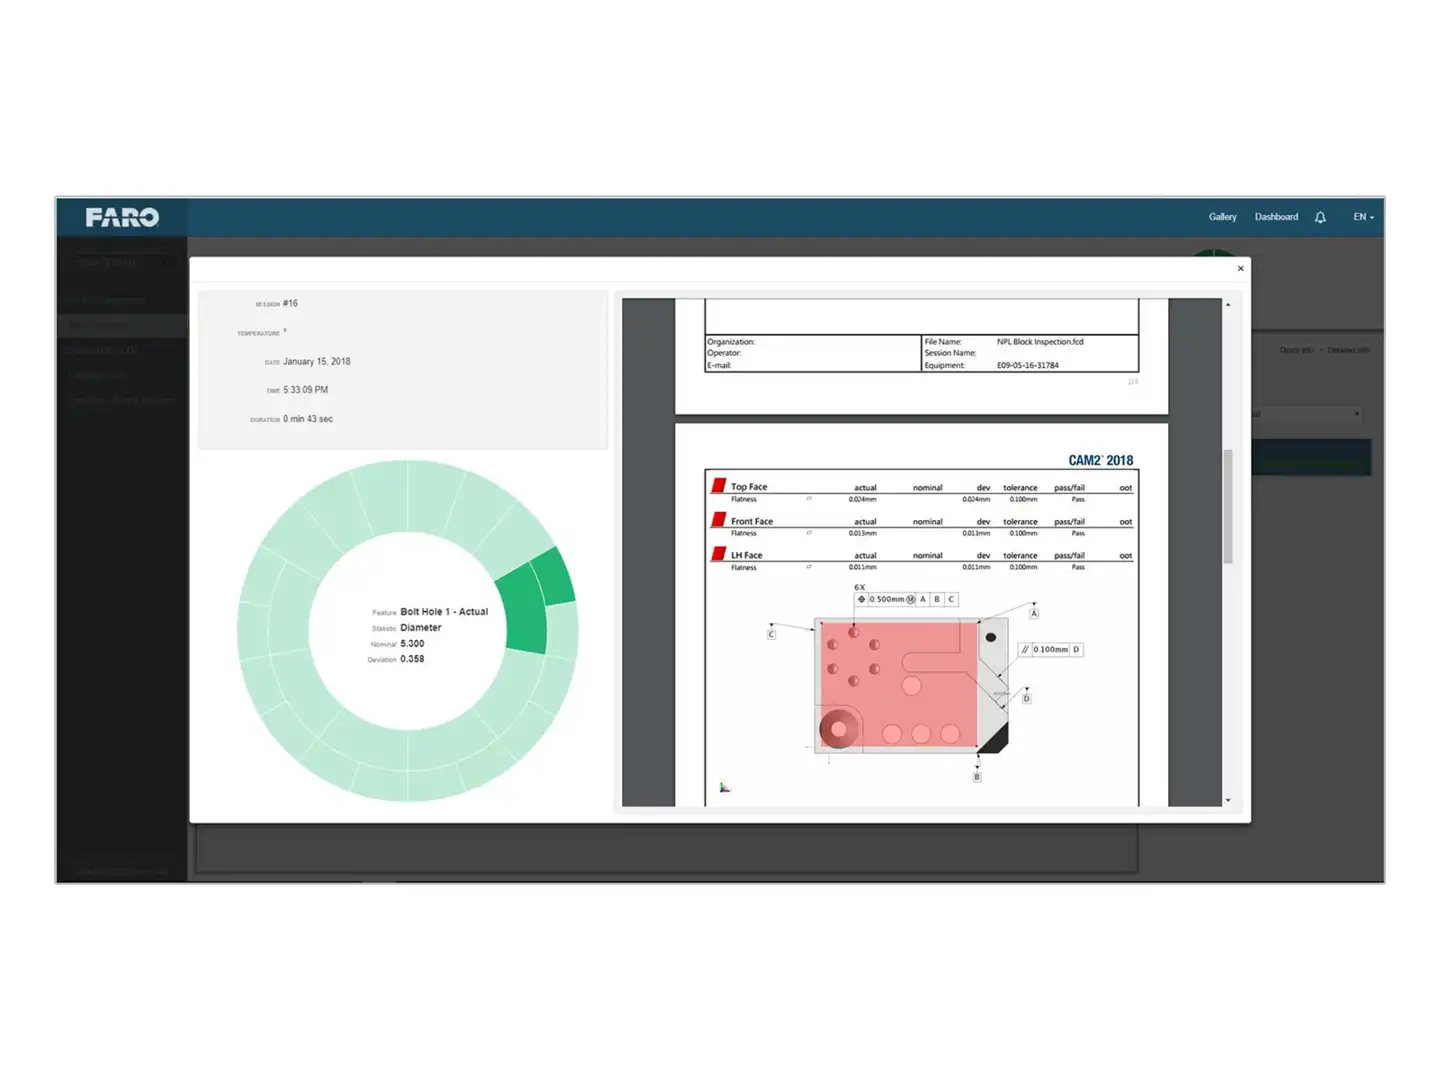
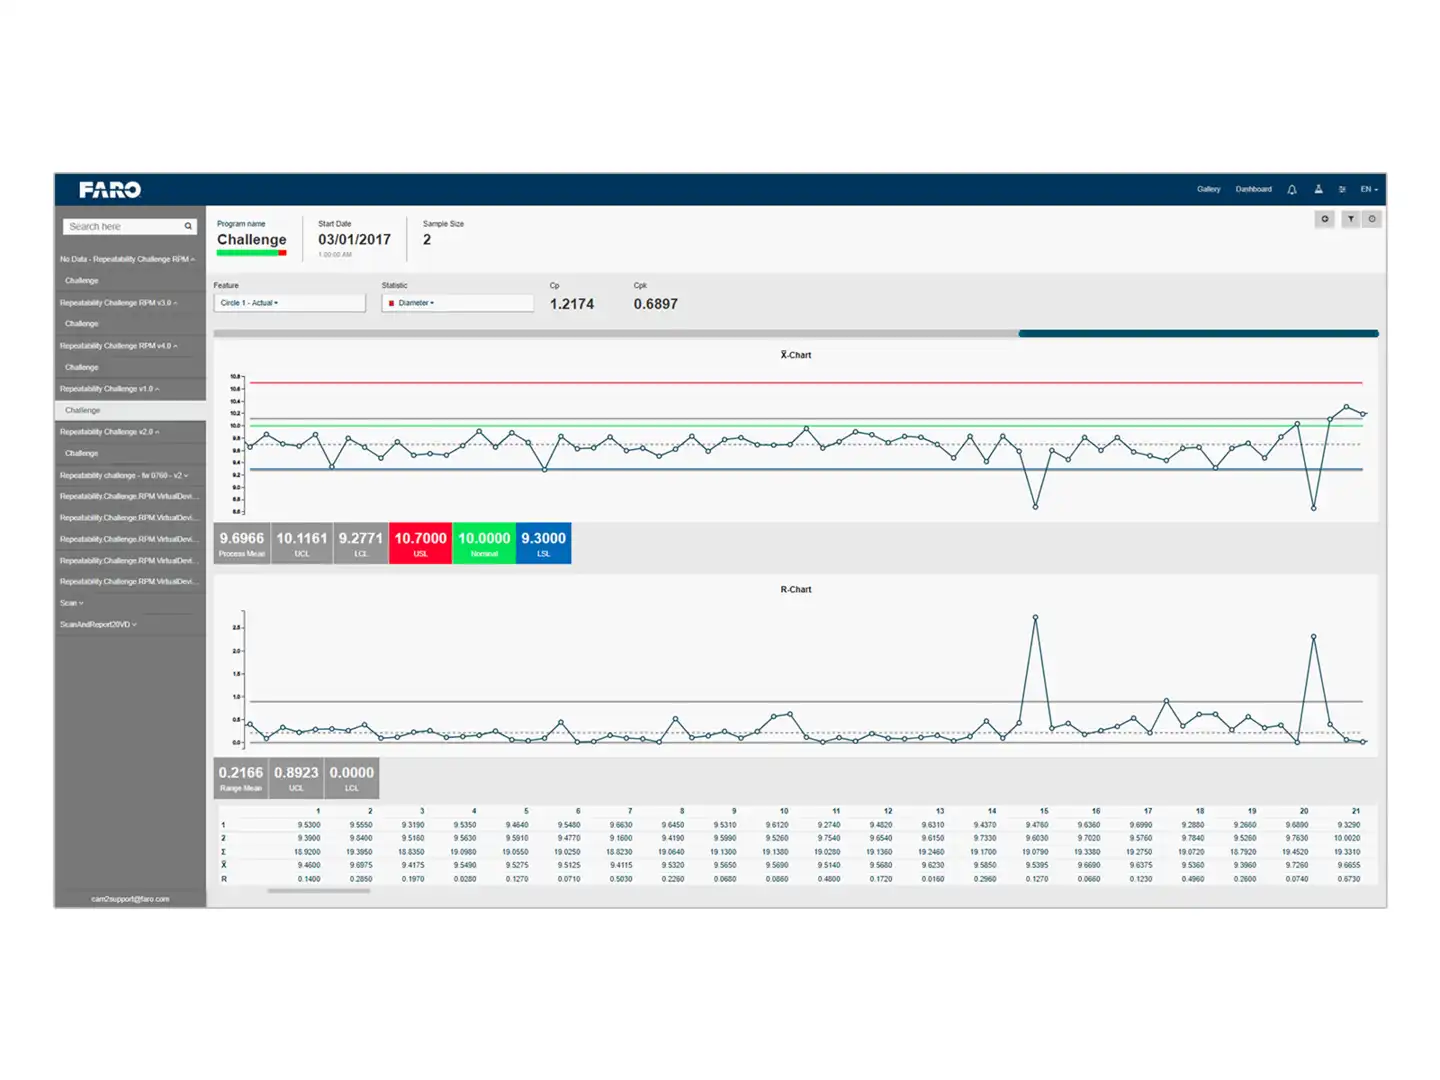
Inspection reports connect to your Statistical Process Control (SPC) software so you can start viewing trends.
CAM2 – PREMIUM
For Non-contact Reverse Engineering Applications with Mesh Data
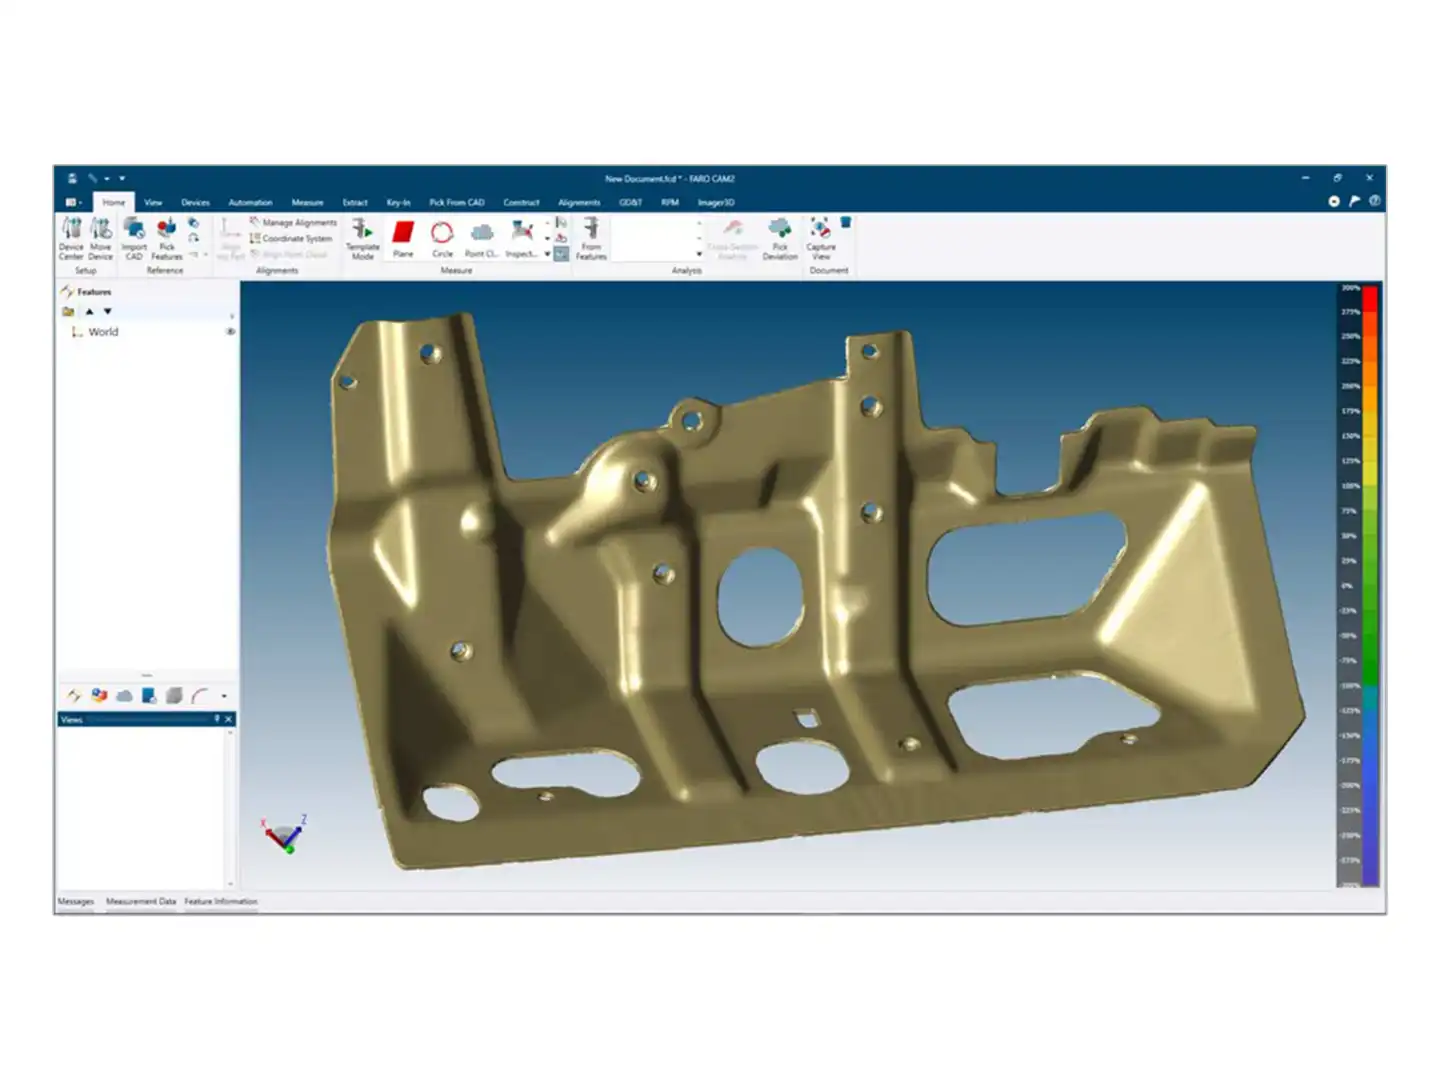
The premium version bundles CAM2 – Full and RevEng. It is a complete package for all your measurement applications, where both point cloud and mesh data analysis is required.
CAM2 – FULL
For Non-contact Applications with Point Cloud Data
The comprehensive version of CAM2 provides full support to all FARO hardware devices, including the FARO ScanArm. It is particularly well-suited for non-contact measurement applications where point cloud data analysis is required. This version of the software also includes CAM2 – Probing.
CAM2 – PROBING
For Contact Applications without Point Cloud Data
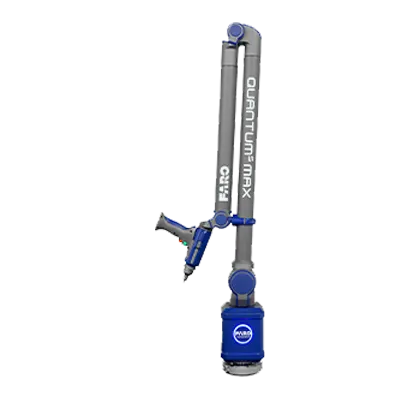
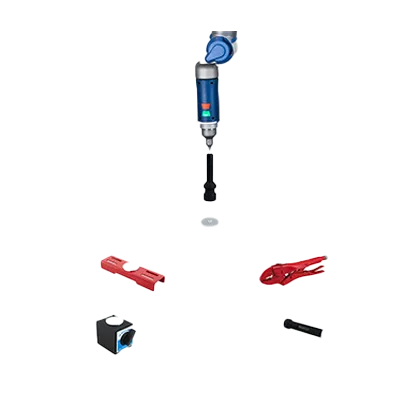
The probing version of CAM2 works with FARO hardware devices — including the FaroArm®, Gage FaroArm, Vantage Laser Trackers and Super 6DoF TrackArm — in contact measurement applications where point cloud data is not required.
Repeat Part Management (RPM)
Ensure consistency in inspections regardless of who conducts them, and to make inline inspections easier.
RPM Control Center
View actionable manufacturing insights based on real-time information for SPC, as well as trend analysis.
Simultaneous Measurement
Use multiple measurement devices together to measure large components fast.
Metrology-grade Meshing
Generate visually appealing, metrology-grade STL files that can be trusted when measuring a golden part.
Scanning Profiles
Select the right settings with one click, streamlining the measurement process.
Geometric Dimensioning and Tolerancing (GD&T)
Display the results of a part inspection just like a print for easy interpretation.
Built-in Universal CAD Import
Ensure the fidelity of CAD data.
Align-My-Part Wizard
Simplify CAD-to-part alignment.
Line Deviation Color Scan
Check part quality during scanning, with deviations highlighted in color.
Remote Measurement
Measure remotely with Apple devices.

